


 Tweet
Tweet
Appliance Tip of the Week...
The spark igniter electrode replacement helps
This page will help you in replacing the surface spark igniter electrode for the top surface burners on a gas or gas-electric stove range. If you have a built-in range, the steps on this page can still help you understand the problem but may need to be changed for your specific needs.
Do remember this is just an example of one common version. There are others and we hope this page will help to give you enough information to replace many different styles or makes.
Some common tools needed:

Replacing the Igniter:
Before beginning, make sure that you feel comfortable working on a gas stove. Working with any appliance will usually involve working with either natural gas, electrical lines, plumbing, or a combination of the three. If you don't feel comfortable or safe working with these elements of your home, contact a qualified stove repair professional.
Step 1: Turn off power supply and gas supply
Don't take any steps to replace an igniter on a gas stove before making sure that you've unplugged the appliance from its wall outlet, and turned gas supply off. In most areas, appliances are required to have individual gas shut-offs. Be sure to turn off the gas either at the appliance or at your main.
Step 2: Remove grates, burner caps, and burner heads
To access the igniter, you will need to open the up appliance. First, remove all of the cook top grates, as well as the gas burner caps from the burner heads. They should lift off freely. Keep them in a safe place until you're done. The burner heads themselves will be attached by screws of some sort. Use your nut/screw driver to remove any screws or fasteners that hold the burner heads to the appliance. When done, remove the burner heads and keep them in a safe location.
Step 3: Remove the cook top
The cook top of most appliance is attached with screws. Remove the screws that keep the cook top secured to the top of the burner holders. Most cook tops are also help in place by two mounting clips, which you will have to remove with a flat head screwdriver or similar tool. Use the tool to feel inside the gap at the side of the range, and push the tool up into the gap to release the clip that holds down the cook top. With the screws and clips undone, check to see if there is anything else fastening the cook top to the appliance. If the cook top appears to be free, lift the front of the cook top and carefully move it aside without hitting, knocking, or damaging the burner orifice holders. Put the cook top in a safe location.
Step 4: Remove the spark igniter electrode
The spark igniter electrode will be located under the cook top. Identify the exact location using your appliance parts breakdown, and carefully detach the wire that is connected to the bottom of the spark igniter electrode. The igniter electrode will probably be held in by a mechanical clip or screw. Release this metal clip from the bottom of the gas burner officer holder and remove it. This will allow you to remove the spark igniter electrode from the burner orifice holder assembly.
Step 5: Install new spark igniter electrode
Using the previous installation as a reference point, push the new igniter electrode into the burner orifice holder assembly where the old one was located. Fasten it with the metal clip or screw, same as the previous igniter was fastened. Finally, reattach the wire you removed from the old electrode by pushing it onto the connection spade at the bottom of the new electrode.
Step 6: Reattach the cook top
Reattach the cook top next. Place the cook top on top of the range and ease it down while listening for the -snap- of the mounting clips you previously undid. Make sure the cook top snaps in correctly on the front lip of the appliance. Reinsert the screws that secure the cook top to the gas burner tube orifice holders. It is okay to make slight adjustments to the burner tube orifice holders if they don't line up with the holes where you'll insert the screws. Do not move them too much, and be sure to tighten all the screws firmly. You may need to move the burner tube orifice holders around slightly to line up the holes and insert the screws.
Step 7: Reinstall the burner heads, burner caps and grates
Using your masking tape guides, reposition the burner heads in the proper spots, and screw or bolt them back into place. Firmly hand tighten the screws or bolts. Recover the burner heads with the burner caps, and set the grates back into their position on the cook top. Be sure that all of these components are in place properly before proceeding.
Step 8: Restore gas and power to the appliance
Plug your appliance back into the appropriate outlet, and reconnect any gas lines that you had to remove before servicing. Turn any gas valves back to the *open* position, and move your appliance back into place if you had to move it out for servicing. Test the igniter spark, burner ignition and flame.
Some Common Gas Range Surface Burner Electrode and Spark Parts...

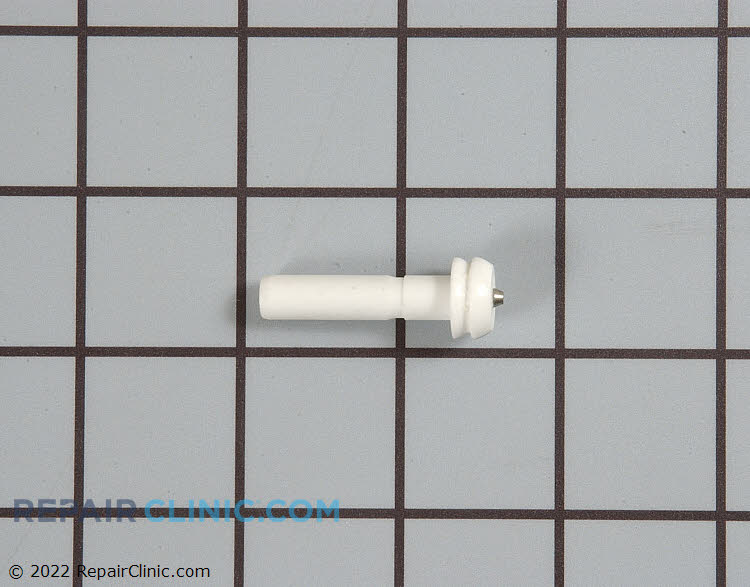
Stove top burner spark electrode, GE
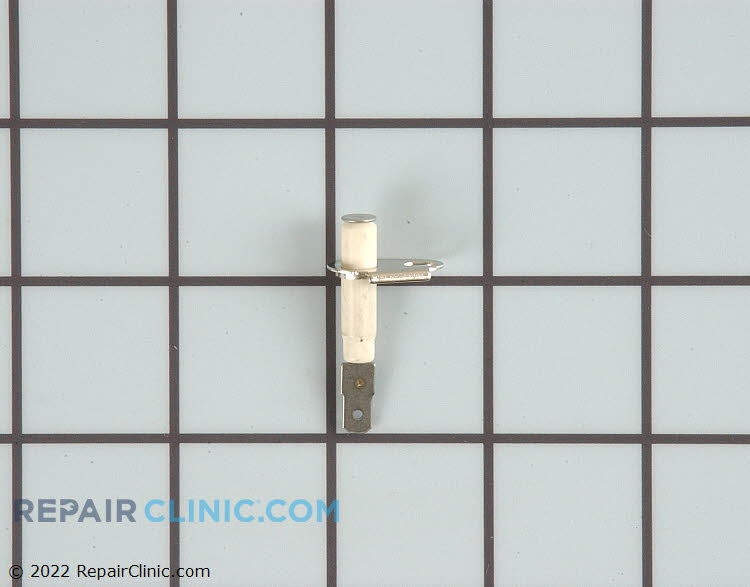
Stove top burner spark electrode, Whirlpool
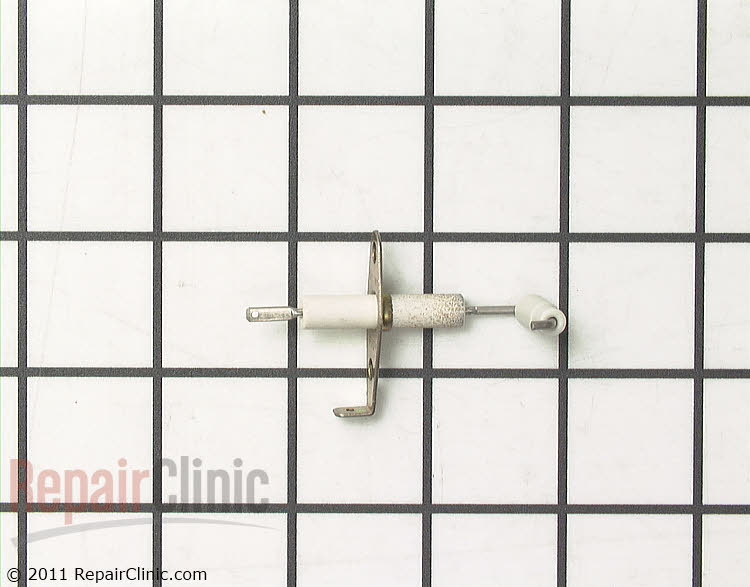
Stove top spark electrode for burner, Maytag/MagicChef/Whirlpool
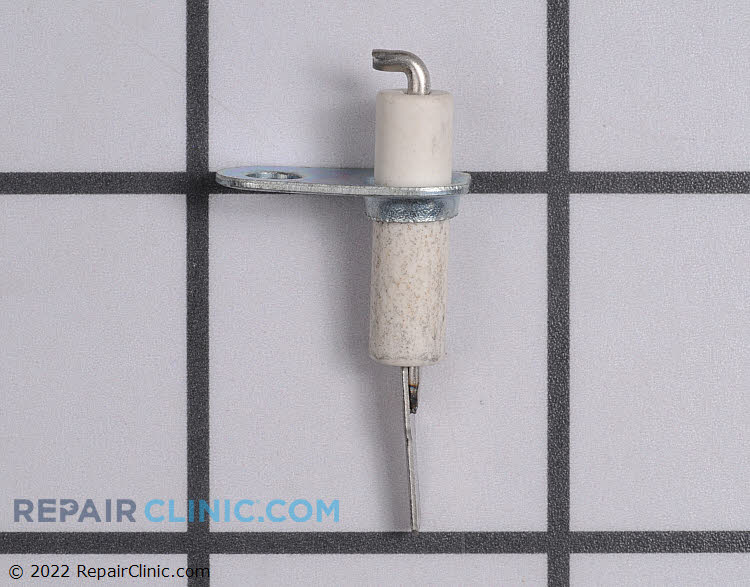
Top burner spark ignitor, Brown
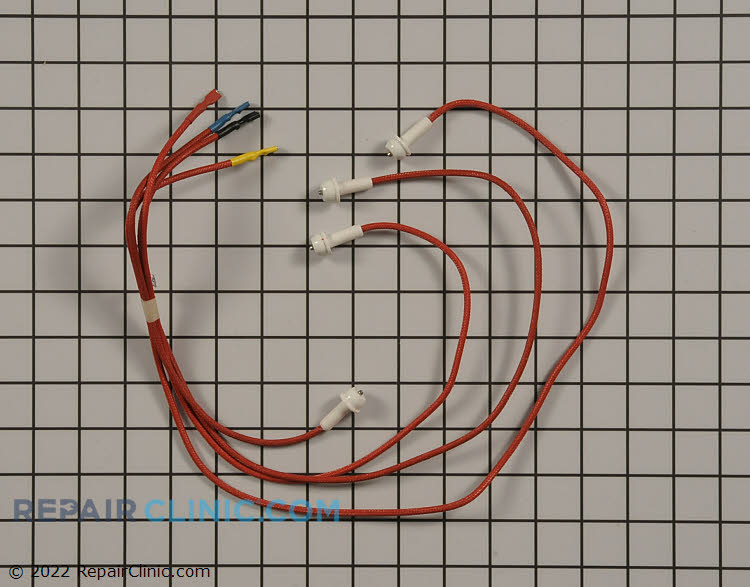
Top burner spark ignitor and wires, GE
Some spark electrode video helps...
Whirlpool Gas Range Surface Igniter Replacement - W10515459
GE Gas Range Burner Replace Igniter - WB18K10098
Kenmore Gas Range Burner Spark Electrode Replacement - 8523793
Range/Stove/Oven Repair Parts


jeff sr.
The spark igniter electrode replacement helps
This page will help you in replacing the surface spark igniter electrode for the top surface burners on a gas or gas-electric stove range. If you have a built-in range, the steps on this page can still help you understand the problem but may need to be changed for your specific needs.
Do remember this is just an example of one common version. There are others and we hope this page will help to give you enough information to replace many different styles or makes.
Some common tools needed:
Replacing the Igniter:
Before beginning, make sure that you feel comfortable working on a gas stove. Working with any appliance will usually involve working with either natural gas, electrical lines, plumbing, or a combination of the three. If you don't feel comfortable or safe working with these elements of your home, contact a qualified stove repair professional.
Step 1: Turn off power supply and gas supply
Don't take any steps to replace an igniter on a gas stove before making sure that you've unplugged the appliance from its wall outlet, and turned gas supply off. In most areas, appliances are required to have individual gas shut-offs. Be sure to turn off the gas either at the appliance or at your main.
Step 2: Remove grates, burner caps, and burner heads
To access the igniter, you will need to open the up appliance. First, remove all of the cook top grates, as well as the gas burner caps from the burner heads. They should lift off freely. Keep them in a safe place until you're done. The burner heads themselves will be attached by screws of some sort. Use your nut/screw driver to remove any screws or fasteners that hold the burner heads to the appliance. When done, remove the burner heads and keep them in a safe location.
Step 3: Remove the cook top
The cook top of most appliance is attached with screws. Remove the screws that keep the cook top secured to the top of the burner holders. Most cook tops are also help in place by two mounting clips, which you will have to remove with a flat head screwdriver or similar tool. Use the tool to feel inside the gap at the side of the range, and push the tool up into the gap to release the clip that holds down the cook top. With the screws and clips undone, check to see if there is anything else fastening the cook top to the appliance. If the cook top appears to be free, lift the front of the cook top and carefully move it aside without hitting, knocking, or damaging the burner orifice holders. Put the cook top in a safe location.
Step 4: Remove the spark igniter electrode
The spark igniter electrode will be located under the cook top. Identify the exact location using your appliance parts breakdown, and carefully detach the wire that is connected to the bottom of the spark igniter electrode. The igniter electrode will probably be held in by a mechanical clip or screw. Release this metal clip from the bottom of the gas burner officer holder and remove it. This will allow you to remove the spark igniter electrode from the burner orifice holder assembly.
Step 5: Install new spark igniter electrode
Using the previous installation as a reference point, push the new igniter electrode into the burner orifice holder assembly where the old one was located. Fasten it with the metal clip or screw, same as the previous igniter was fastened. Finally, reattach the wire you removed from the old electrode by pushing it onto the connection spade at the bottom of the new electrode.
Step 6: Reattach the cook top
Reattach the cook top next. Place the cook top on top of the range and ease it down while listening for the -snap- of the mounting clips you previously undid. Make sure the cook top snaps in correctly on the front lip of the appliance. Reinsert the screws that secure the cook top to the gas burner tube orifice holders. It is okay to make slight adjustments to the burner tube orifice holders if they don't line up with the holes where you'll insert the screws. Do not move them too much, and be sure to tighten all the screws firmly. You may need to move the burner tube orifice holders around slightly to line up the holes and insert the screws.
Step 7: Reinstall the burner heads, burner caps and grates
Using your masking tape guides, reposition the burner heads in the proper spots, and screw or bolt them back into place. Firmly hand tighten the screws or bolts. Recover the burner heads with the burner caps, and set the grates back into their position on the cook top. Be sure that all of these components are in place properly before proceeding.
Step 8: Restore gas and power to the appliance
Plug your appliance back into the appropriate outlet, and reconnect any gas lines that you had to remove before servicing. Turn any gas valves back to the *open* position, and move your appliance back into place if you had to move it out for servicing. Test the igniter spark, burner ignition and flame.
Some Common Gas Range Surface Burner Electrode and Spark Parts...
Stove top burner spark electrode, GE
Stove top burner spark electrode, Whirlpool
Stove top spark electrode for burner, Maytag/MagicChef/Whirlpool
Top burner spark ignitor, Brown
Top burner spark ignitor and wires, GE
Some spark electrode video helps...
Whirlpool Gas Range Surface Igniter Replacement - W10515459
GE Gas Range Burner Replace Igniter - WB18K10098
Kenmore Gas Range Burner Spark Electrode Replacement - 8523793
Range/Stove/Oven Repair Parts
jeff sr.